Hey mommas! Have your first postpartum work trip, sans baby, coming up? Not sure how to handle your breastmilk and pumping while away, but determined to keep breastfeeding going? Well you’ve come to the right place.
Pictured: In a Mamava lactation pod at the Atlanta airport. A+++ facilities!
Determined to keep breastfeeding going through my recent field expedition to the far reaches of the Galapagos Archipelago (Isla Darwin), I spent many hours planning and researching the best way to maintain my supply and hopefully even bank some frozen breast milk. But it was incredibly daunting at first. I hope I can help you navigate you options a bit easier. ❤
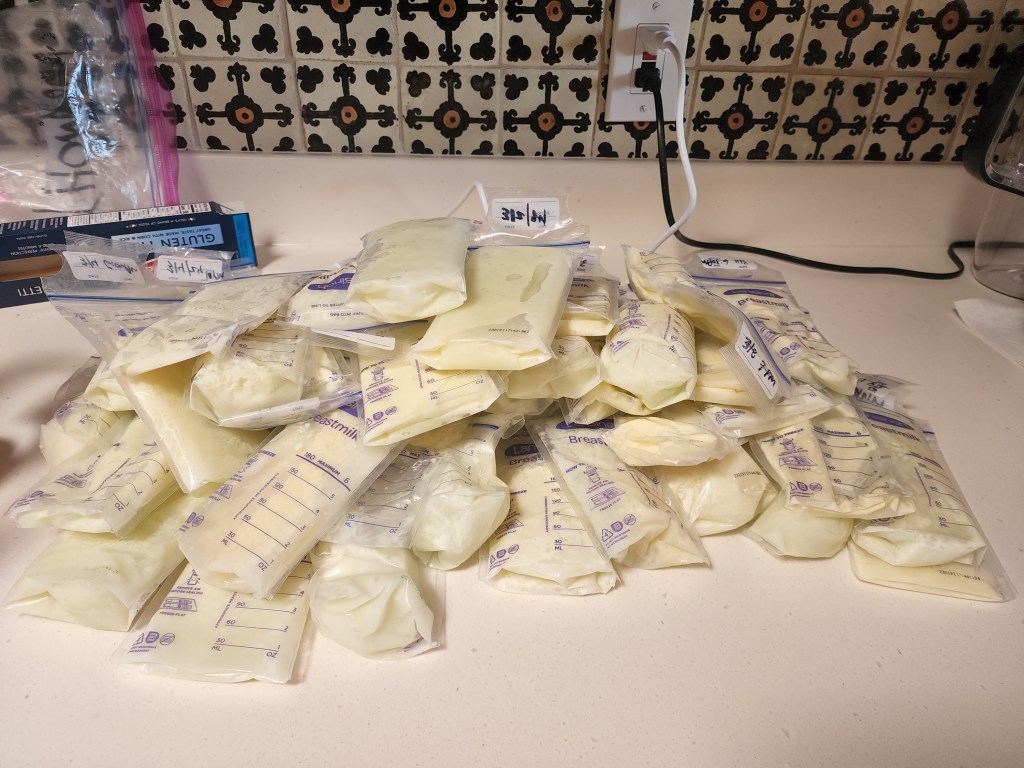
Spoiler alert: it worked like a charm, and I brought home ~300 ounces (over 8 L) of liquid GOLD!!! This will serve as a critical foundation for the next trip’s stash, as I have critical field work to do again this summer (hopefully avoiding the most difficult “preparation” stage 1 below).
Before we dive in to just how I achieved this, it’s important to say that there is no “right” way to do this. For you, weaning may be the right answer, or perhaps pumping & dumping to maintain supply AND your sanity. For many, breastfeeding isn’t even an option. If this is you momma, I send you all my love & support. This was me too for some time— breastfeeding came incredibly difficultly for us, and it was a hard-fought battle to get this far. Some may call me stubborn (or even crazy!), but this is why I was all-so-determined to find a solution that worked for me to keep it going. In the end, it really wasn’t that difficult and I’m glad I stuck with it and didn’t let others’ opinions deter me. If it can be done on such a remote trip (involving a route of plane(s) –> bus –> ferry –> taxi –> live-aboard boat) at a place that ~24 ours by boat to the nearest civilization, than anything is possible!
[Note: I’m obviously not a medical doctor or lactation specialist, though I have spent some time attending our local AMAZING clinic “Milk and Honey” (shout out to Ashley, Nina & the incredible team we’ve worked with!). Follow these recommendations at your own risk, and see your local lactation consultant for tailored plans to fit your needs]
Part 1: The preparation
I’m not going to lie, this was the hardest part for me. In the weeks and even months leading up to the trip, I pumped around the clock (between and even during feedings) to “bank” a frozen supply of milk for my time away. On top of 8-hour work days, this was incredibly exhausting. But slowly but surely, we made it to the finish line and banked *just* enough for the 12-day trip (assuming the average ~25-ounces / day). You can look up how much your baby needs here. Marcus kept close track of his consumption while I was gone, tallying each bag as it was used in an amazing system of defrosting bags that gave us both peace of mind. So we know exactly how many ounces he was eating, and the average from website was spot on for us (though note that it varies wildly, and your baby may need anywhere from ~19-30 oz! This is where pre-planning and lactation consulting are key!).


Some hot tips for this stage:
- Start EARLY. The earlier the better, and the more sane your banking process will be.
- Buy a car adaptor to permit use of hospital-grade pump in route to / from work and other appointments. This was a complete game changer for me, and wish I would have thought of this sooner. These pumps just work so much better than the portable ones…
- Breastfeeding? Add a Haakaa or Boon Trove to the other side to catch little bits at a time (these add up big time!!!) [Note: when squeezed prior to insertion, these are ACTIVE collection devices & can impact your supply; see lactation consultant for personalized plans]
- Consider pumping on the other side during some feeds [Note: this can impact your supply; see lactation consultant for personalized plans]
- For sanity (and to prevent oversupply issues!): shoot for ~1-2 extra pump session(s) / ~5-oz stash per day. Slow and steady wins this race (and avoids mastitis!)
- Take time for yourself & get lots of rest, water and electrolytes. You’ll need it!
Part 2: The pack list
There are a ton of amazing tools these days that make pumping on the go so much easier! That being said, I found it so overwhelming in figuring out what I needed to bring. Here’s my final list, ordered roughly in terms of how indispensable they were on the trip:

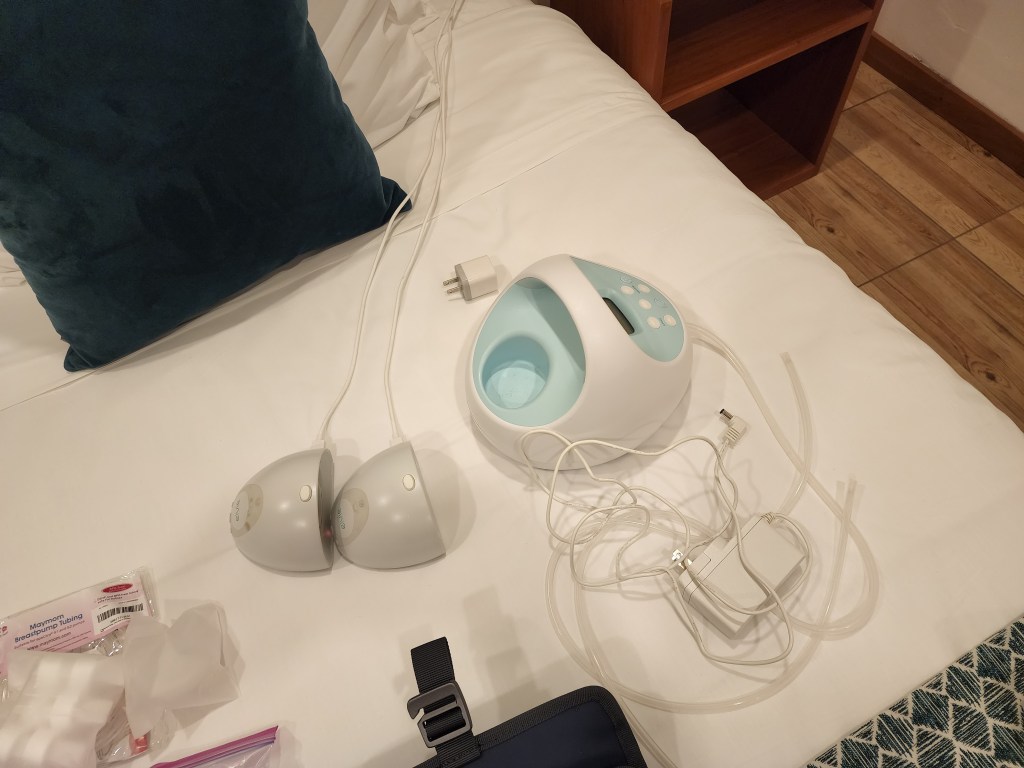
- Hospital grade pump: Do not skimp on your pump. Bring your nice, hospital-grade pump (I brought my Spectra rechargeable). Yeah, it’s bulky. But your boobs will thank you when you don’t get mastitis. Those portable pumps just can’t compete. Bonus if you get the battery-operated / rechargeable version (this was a huge peace of mind for limited connectivity days).
- Portable pump: I brought my Elvie portable pump for travel days. This was mainly useful for pumping on the long plane flights, but 110% worth the space it took in the stash for when it was needed. I almost left it, and was glad I didn’t (thanks to a colleague’s last-min advice).
- Sanitizing spray: Medela sanitizing spray was absolutely clutch for travel in an area with unreliable water. Between each pump session, I used filtered water from my water bottle or pitcher to do an initial clean, then sprayed down all of the parts with this spray. As long as I kept my parts cool (see #6), I used this system to prolong the time between sanitization efforts (see #5).
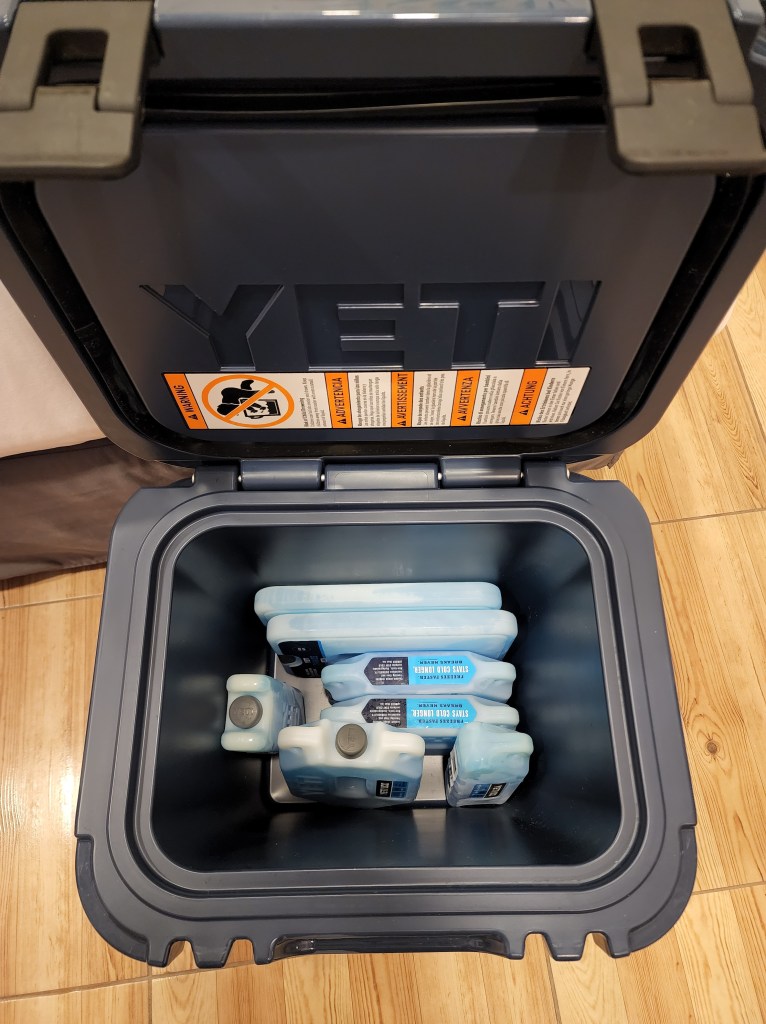
- Yeti Roadie 24 cooler & ice packs: critical for keeping the stash frozen on the trip home. CDC states that as long as the milk has some ice crystals left in the bag, your milk can be refrozen! The Yeti kept my milk frozen enough to refreeze, giving me a total of ~300 ounces / > 8 L to bank for my next trip! [Hot tip: pack any air space with newspaper or other paper to minimize thaw]
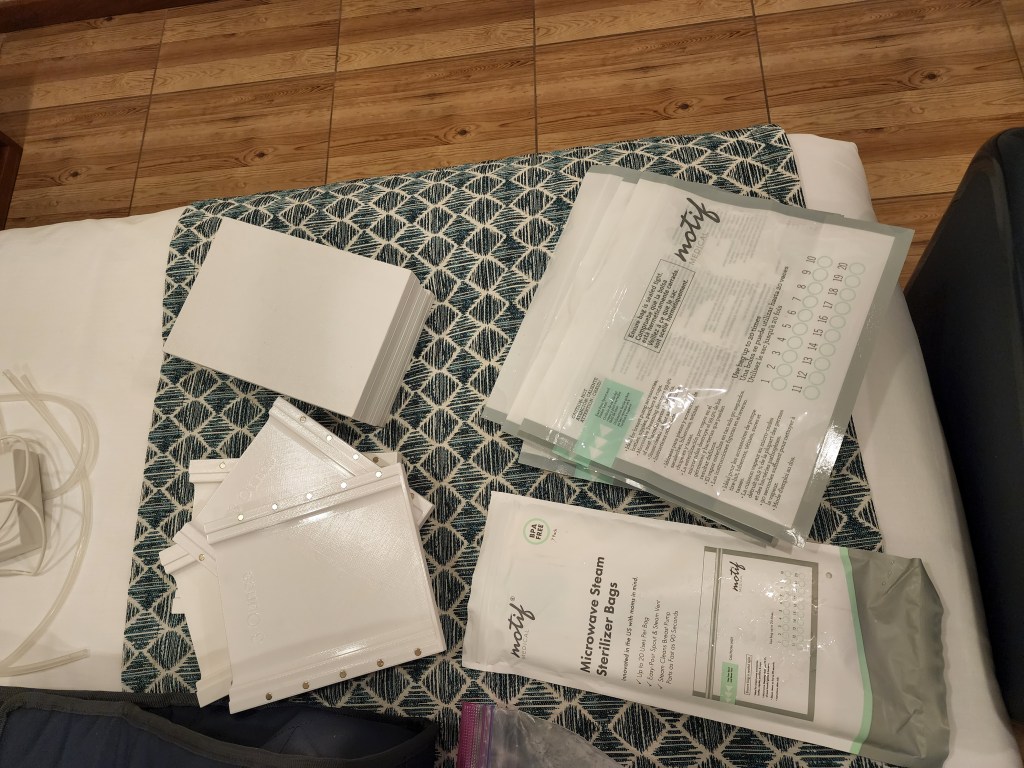
- Motif breast-feeding sanitizing bags: these microwavable bags allow you to sanitize on the go! No microwave? Me neither 😉 I improvised with boiling water out of a kettle or pot and left them to sit in the bag for the recommended 5 minutes.
- Yeti daytrip lunchbag: perfect for 1 ice pack, pump parts, and the travel days’ worth of expressed milk. Used this for travel days, including the plane–> bus–> ferry–>taxi–>live-aboard boat travel progression in the Galapagos. The milk kept nicely refrigerated
- Breast-milk bags: I use Lansinoh (in bulk from Amazon), but the brand doesn’t matter. These are great for compact storage.
- Mamava app: For travel days, many airports now have breastfeeding pods. To access & find the nearest pod, download the Mamava app to you phone. For travel to places without pods, pack a breastfeeding cover for privacy (as desired, I don’t bother with the extra faf).
- Good Latch magnetic plates for storing milk flat: These are great for minimizing room in the cooler utilized by each bag. In the end, these couldn’t keep up with my production, but they were helpful while they lasted. These were probably overkill and could/should be left behind to save space (in hindsight).
Unused but useful in case of an emergency
- Extra pump parts. Enough said.
- Hand pump. Useful in case you run out of battery on your other pump(s) and really need to express.
- Goal Zero solar-panel charger: for remote field work (or camping!), this could be used to power your pump. Used it as an emergency backup. Also found a USB-12V cable to connect it directly to the Spectra. May not have needed this, but glad I had it.
Critical final note: the CDC says that as long as there are ANY ice crystals left, a bag can be refreezed!! I only lost the tippy top most bag in my Yeti cooler after nearly 36 hours of flying, as all bags remained mostly (or at least partially) frozen!
Part 3: Execution (where rubber hits the road)
Once in the air in route to your trip, time to sit back and embrace whatever happens. Remember momma, most important thing is to keep your equipment open for business. If you have to dump questionable milk, it’s OK! You’ve done your best!!
Fortunately, this part went smoothly for me with the above preparation and tools, so I don’t have much to add. The only finally critical piece (which cannot be understated): surround yourself with supportive colleagues, businesses, etc. The execution stage takes a supportive team of folks willing to stick their neck out to help you: the hotel and boat owners who allow you to monopolize their freezer space, colleagues willing to be flexible with pumping breaks between work sessions, and lighthearted jokes to keep your sanity (thanks team!). I asked ahead about freezer space at the hotel and boat, and I was so incredibly fortunate to work with a group that respected & supported my journey as a breastfeeding momma in the field.


Above: (left) Monopolizing freezer space at the hotel in Puerto Ayora next to a bag of unidentified meat?! (right) Sanitizing with the Motif bags @ the hotel!
No matter what happens, remember momma: you are enough, and giving your baby exactly what they need. Keep on being a badass working mum—taking the world by fire!!

Pumping with a view in the Quito airport. Where there wasn’t pumping / breastfeeding rooms, I shamelessly pumped wherever I could find a quiet spot. Here’s to normalizing pumping 😉
